 Important: Transactions cannot be deposited until the Daily Batch is settled.
5. End of Day – Settle the Batch
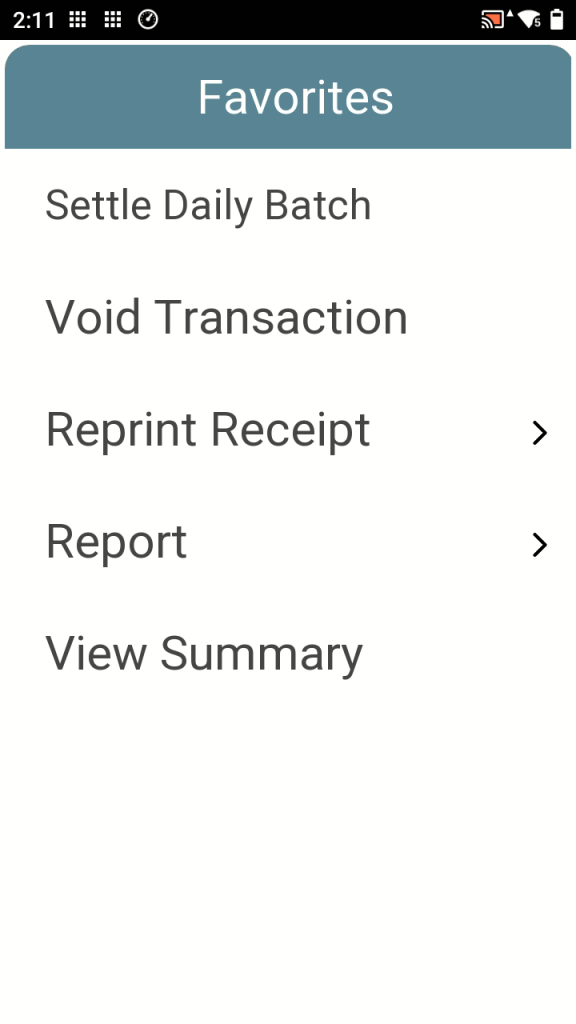
a. Tap ![]() Favourites → Settle Daily Batch.
Favourites → Settle Daily Batch.
Settling the batch sends the day’s payments to be deposited. A good practice is to settle the batch before powering the terminal off. There’s no harm in trying to settle the batch as it will tell you that there are no funds to settle.
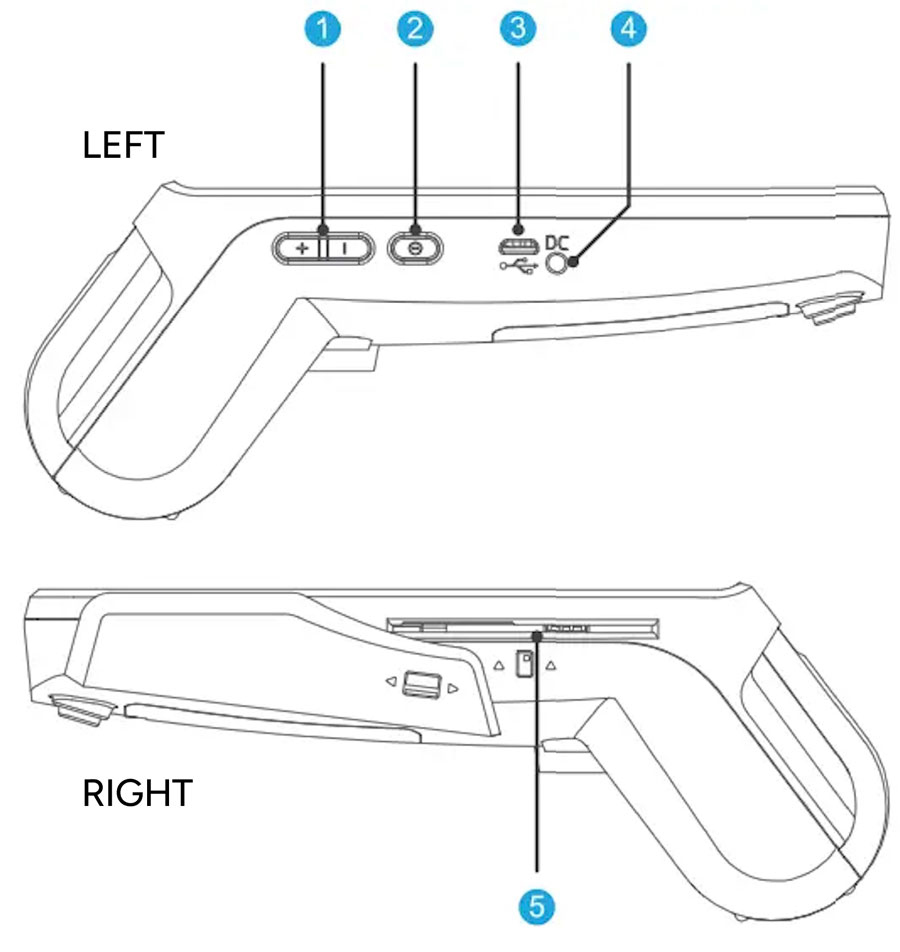
![]() Back
Back![]() Home (exits Aura)
Home (exits Aura)![]() Menu
Menu
![]() shows remaining charge
shows remaining charge![]() appears when charging
appears when charging
Best Practices:
![]() Wi-Fi not connected
Wi-Fi not connected ![]() Wi-Fi connected (signal strength shown)
Wi-Fi connected (signal strength shown)
![]() 4G data not connected
4G data not connected ![]() 4G data connected
4G data connected
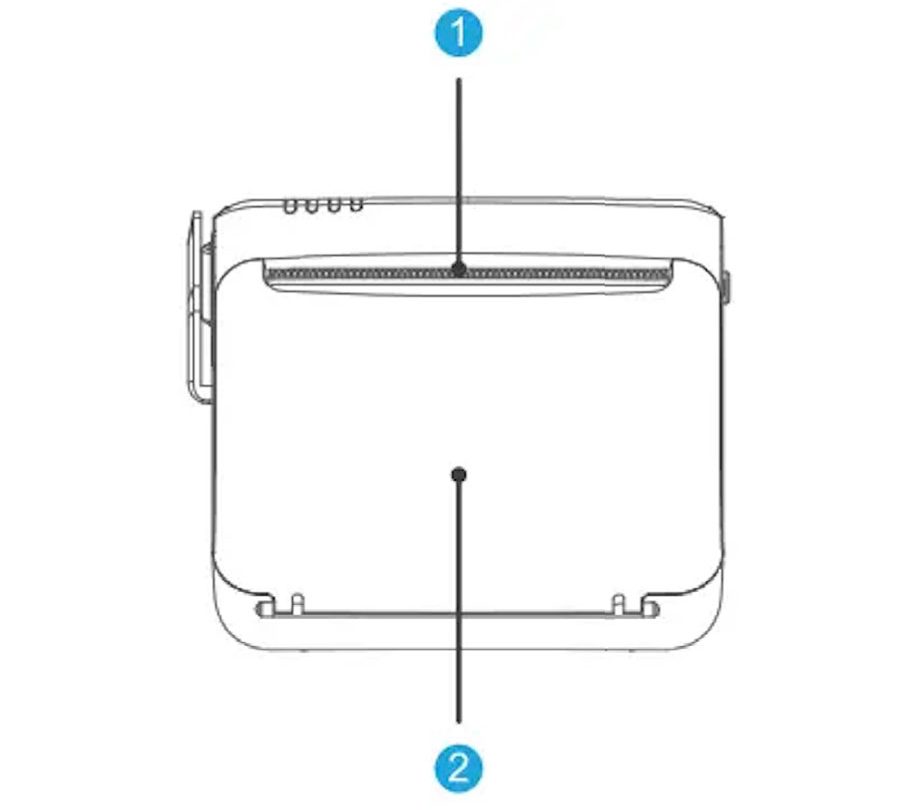
- Verify paper direction
- Remove torn or creased paper
- Ensure printer cover is fully closed
- Use the
 Receipt Feed in Aura to test printing
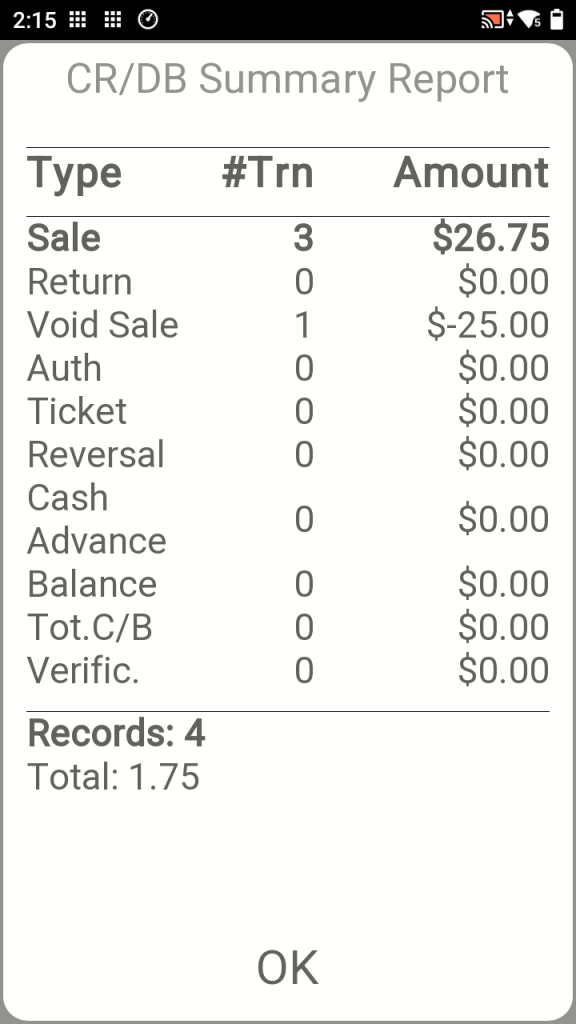
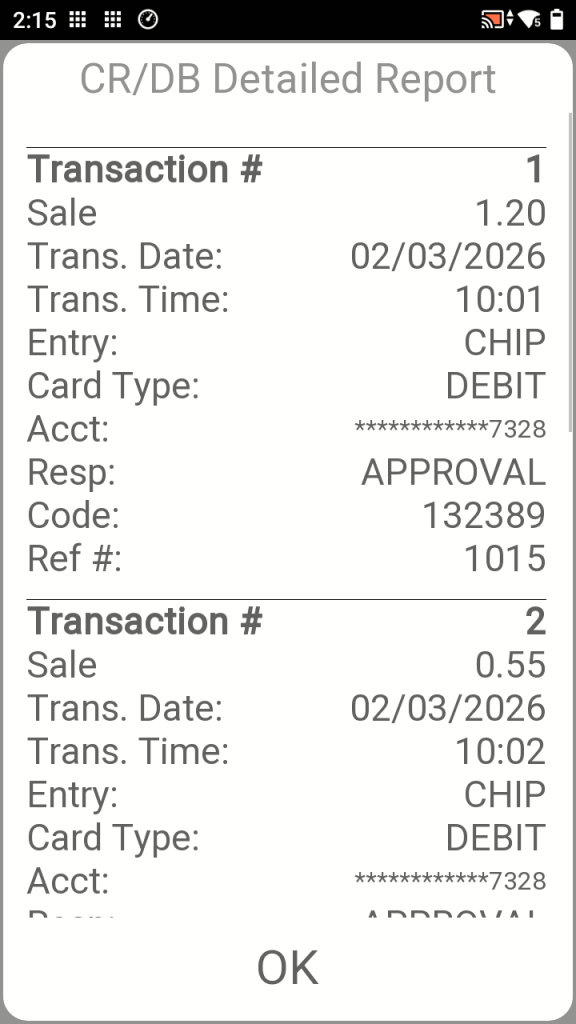
![]() Favourites → Reports → Enter manager password,
Favourites → Reports → Enter manager password,
Bottom Icons:![]() Favourites – primary menu
Favourites – primary menu![]() Menu – advanced options
Menu – advanced options![]() Receipt – paper feed
Receipt – paper feed
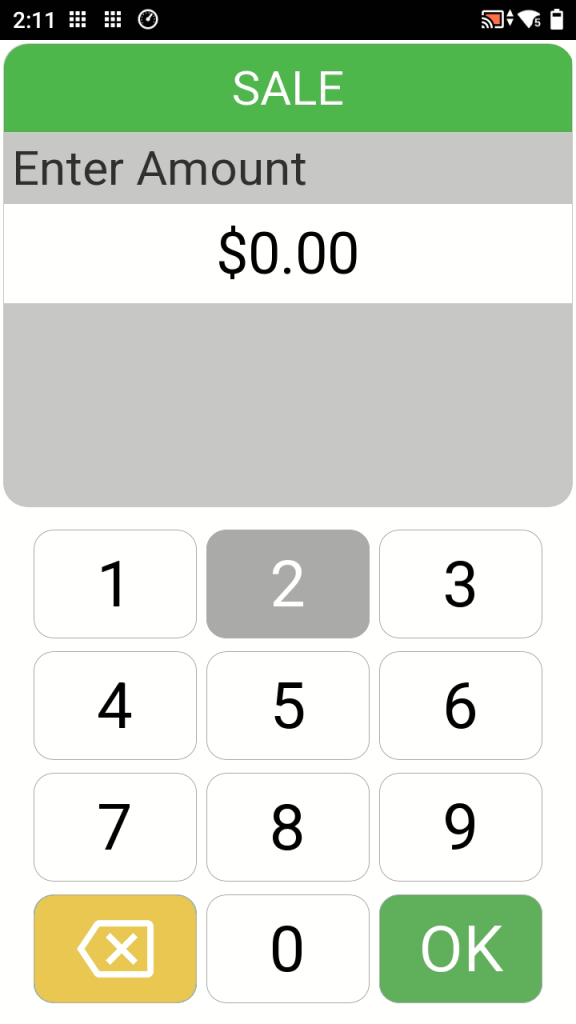
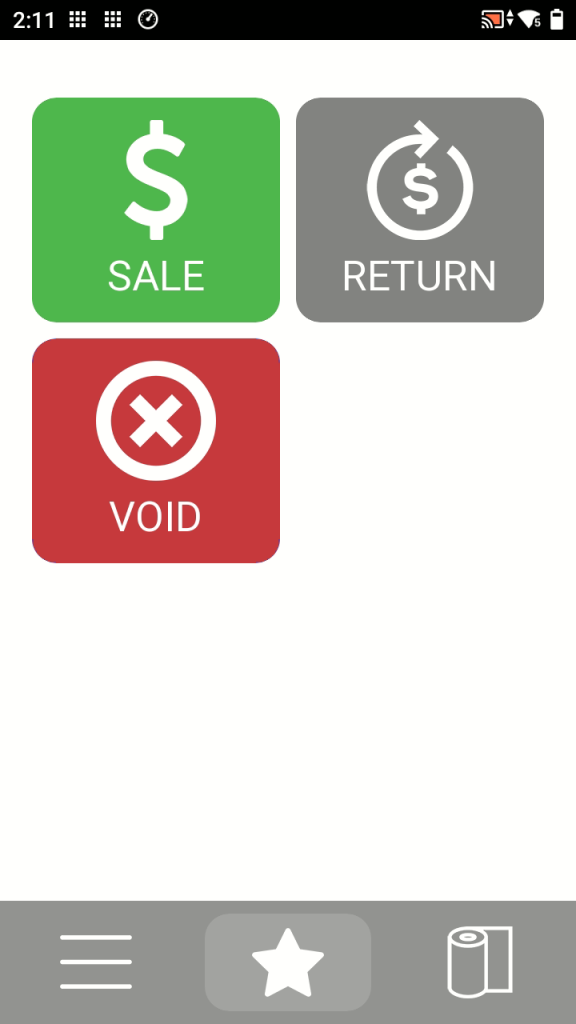
- Tap Sale
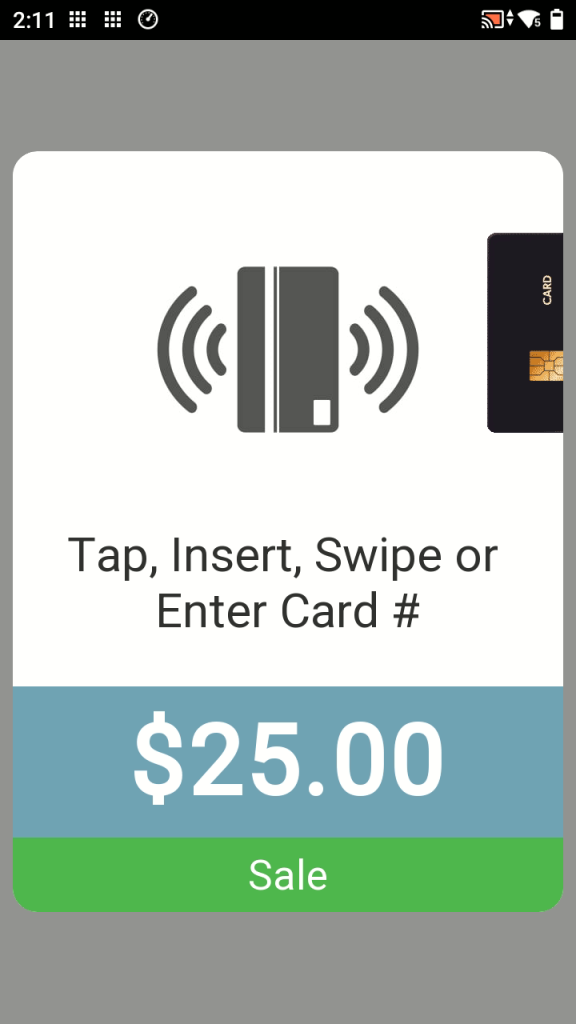
- At card prompt, tap
 Menu
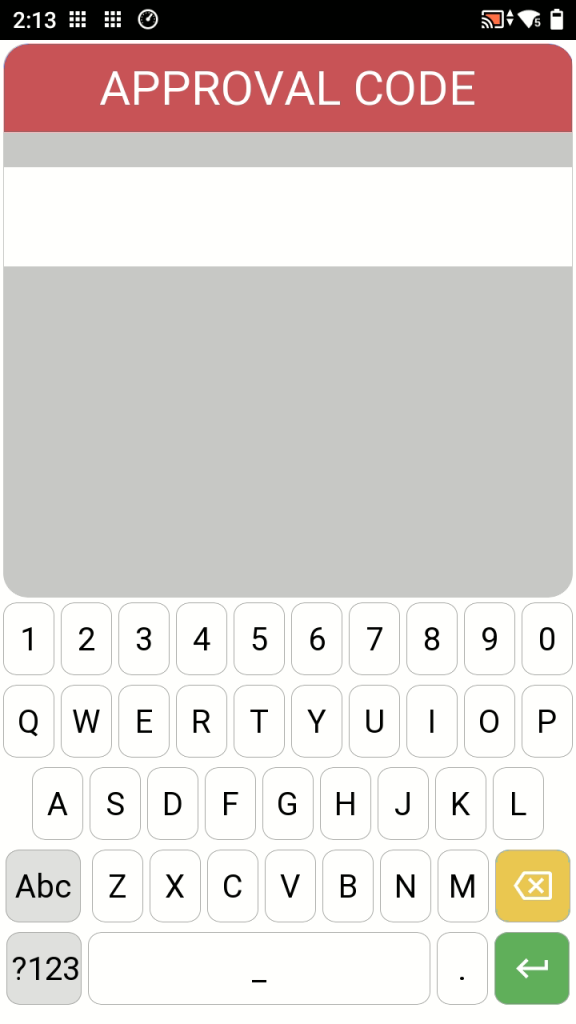
Menu - Select Manual Entry
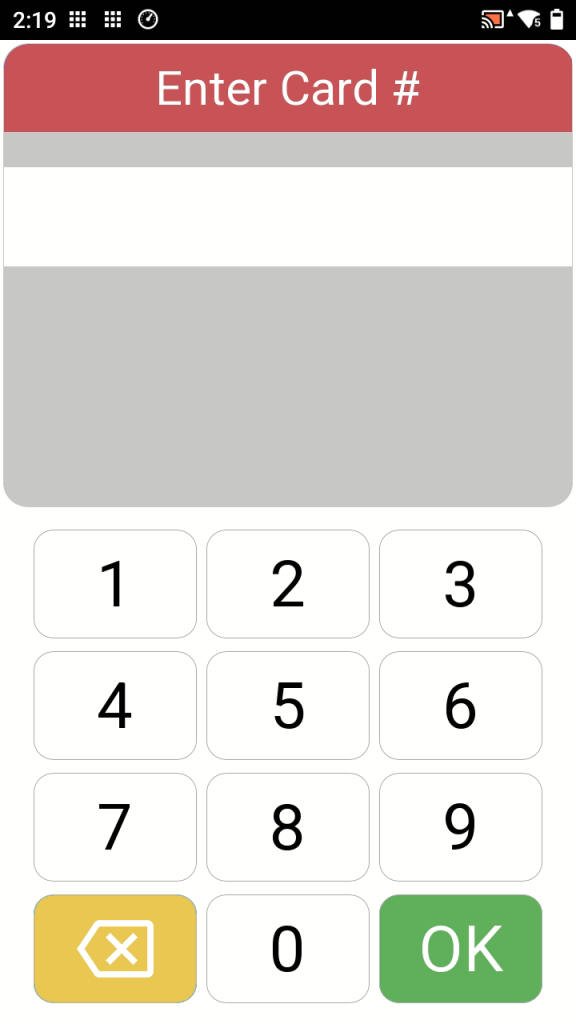
- Enter card number
- When asked if card is present, select No (Manual entry transactions are processed as card-not-present
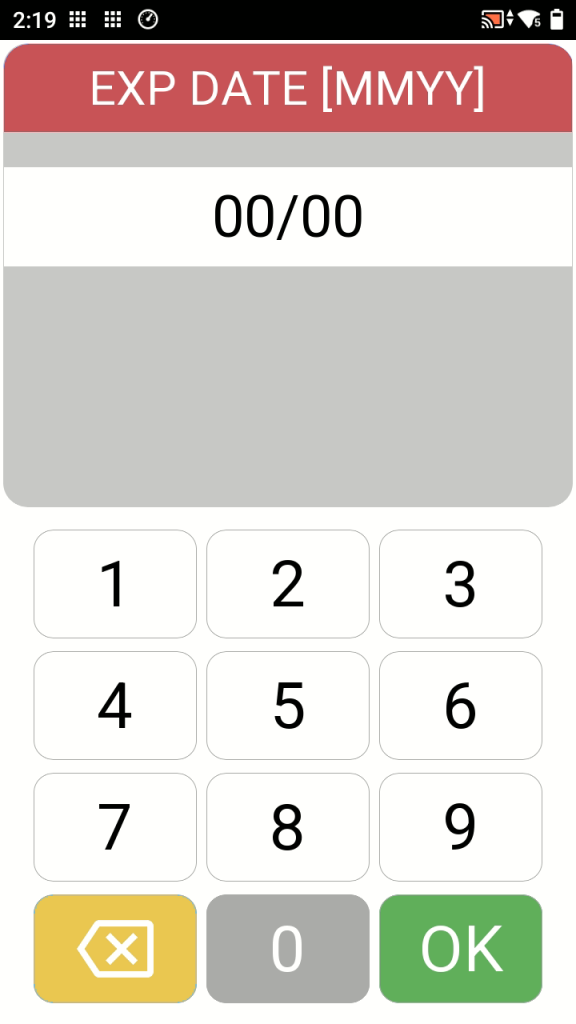
- Enter expiration date and CVV (on back of card)
- Press OK
- Wait for response – Approved or Declined
- Receipt prints (merchant & optional customer copy)

If the card is unavailable, the transaction must be refunded after settlement.
- Tap
 Favourites → Void Transaction
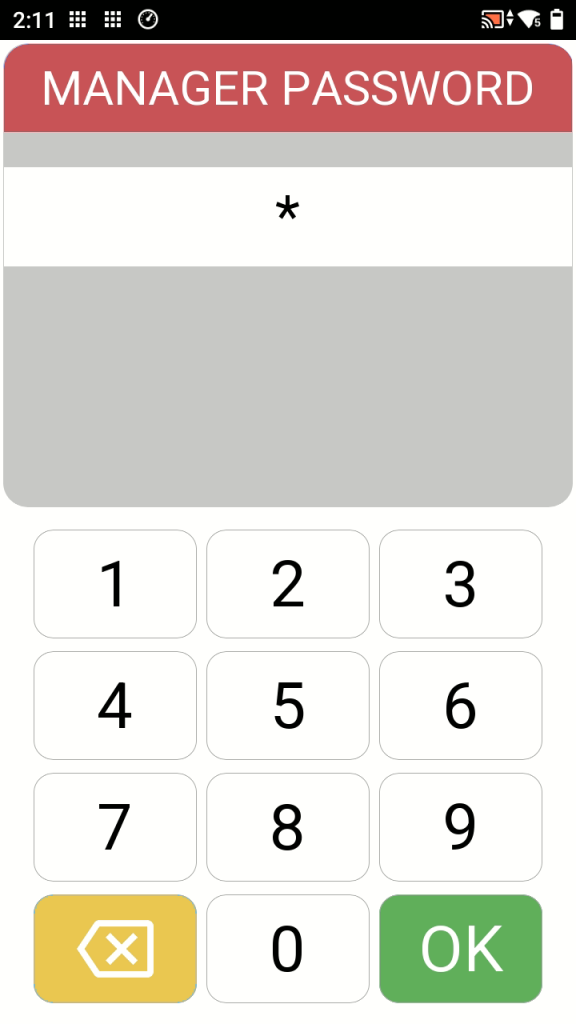
 - Enter manager password
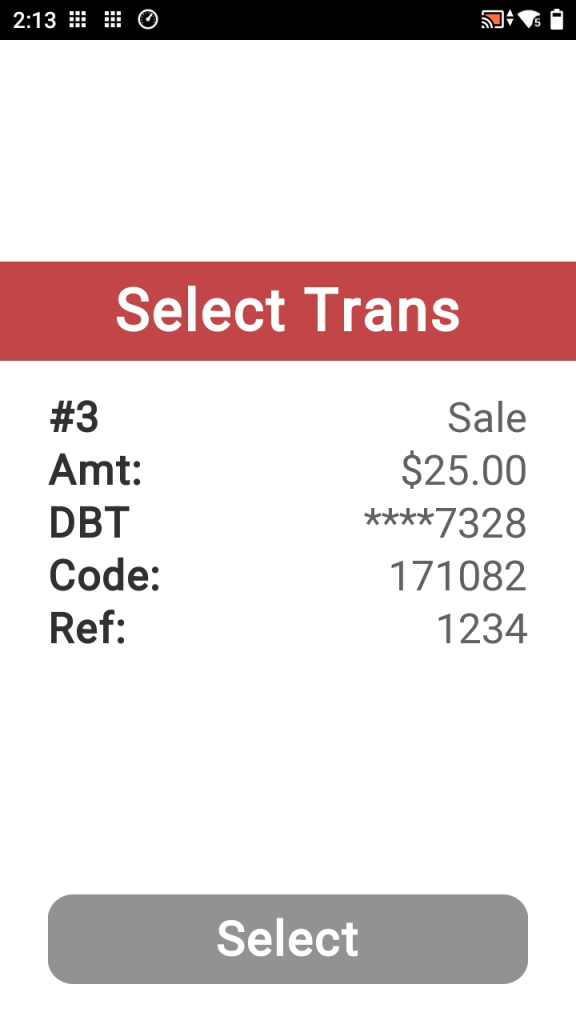
- Choose how to identify the transaction you want to Void:
- Last Transaction (easiest)
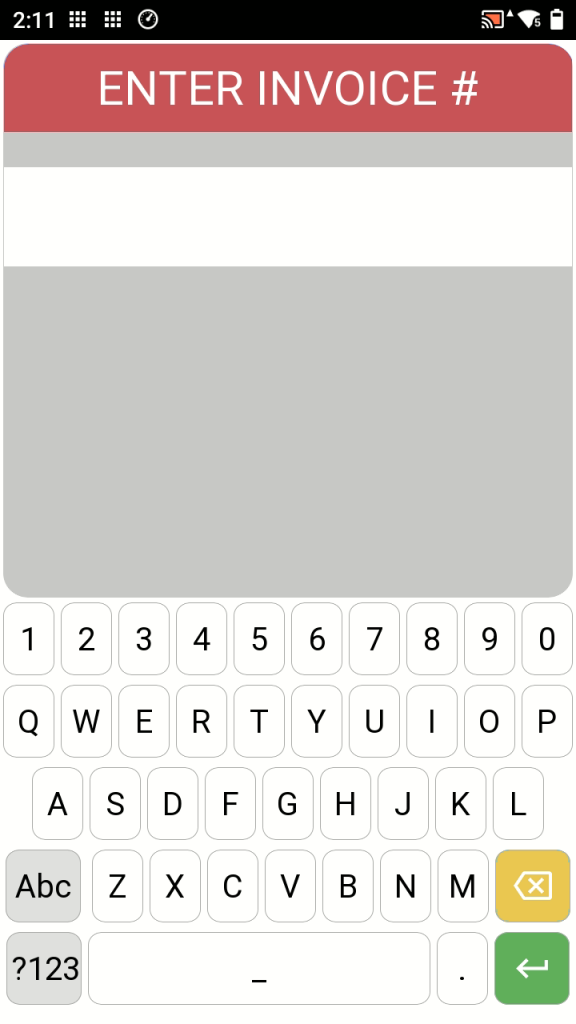
- Transaction # (from receipt)
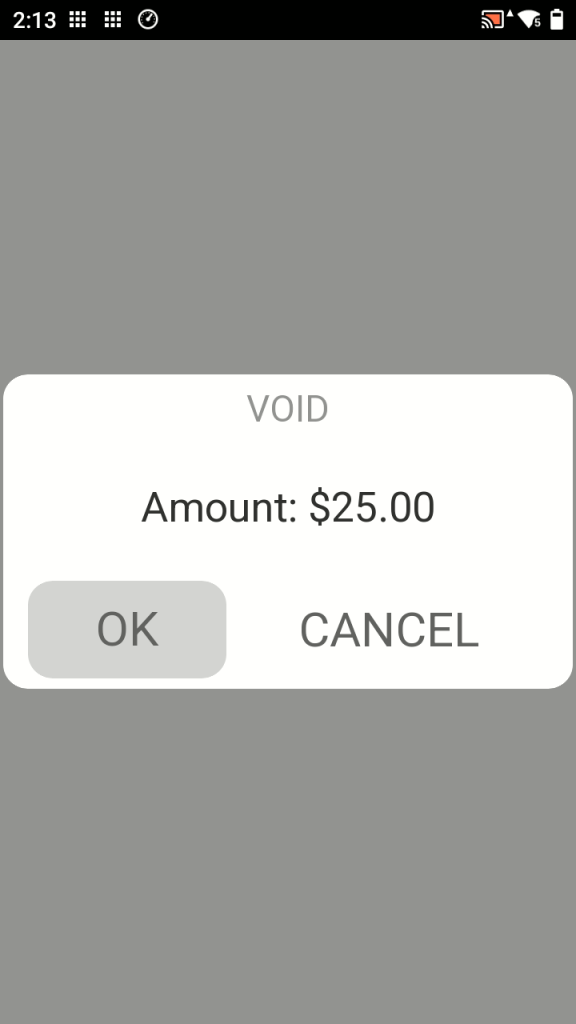
- Select the transaction and press OK
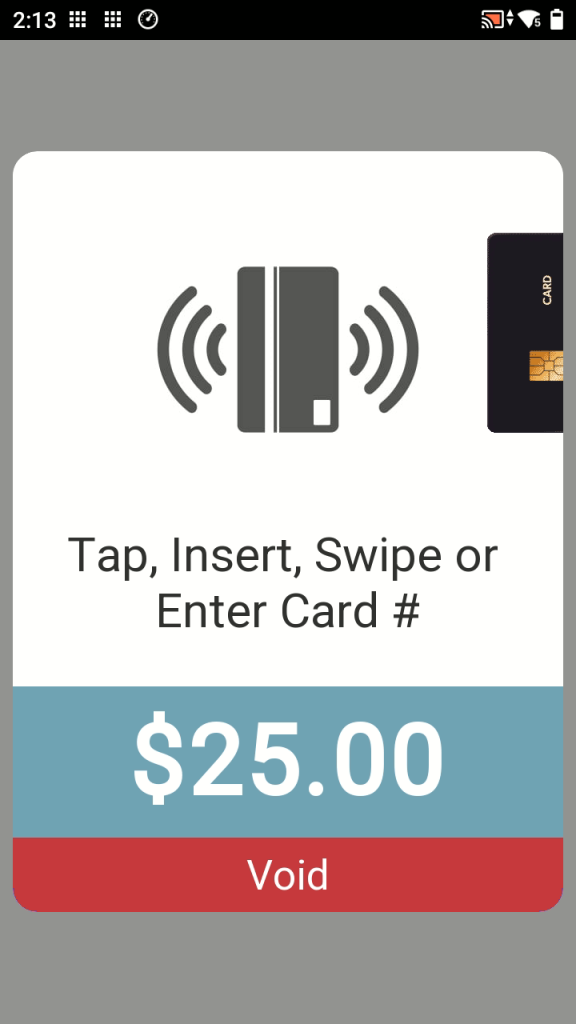
- Customer taps or inserts the original card
- Wait for response
- Void receipt prints
![]() Favourites -> Reprint Receipt
Favourites -> Reprint Receipt
- Favourites -> Settle Daily Batch
- Enter manager password
- Confirm totals
- Settlement report prints
Deposits will be delayed until settlements are completed.